
Table Of Contents
Kit You Need For Starting A YouTube Channel
If you have a YouTube channel or are thinking about starting a YouTube channel, you are probably wondering which essential equipment and kit you will need to run your channel. Which vlogging camera is best? What will you need to edit your videos? Which accessories will you need? Today I am sharing all of my essential YouTube vlogging kit that I use to film and edit videos for my YouTube channel.
Start With Your Phone
Smart Phone
A lot of people think that you need a fancy camera and loads of expensive equipment to start a YouTube channel and that’s just not true. Like most YouTubers, I started my channel with my iPhone and you can too! Will you want to upgrade your kit as your channel grows? Sure! But don’t let not having the right equipment yet be an excuse for not getting started.
For the story of my YouTube journey and my top tips for getting started with YouTube, watch the video or click the button below.
Phone Light
If you are filming with your phone, you’ll probably find that the picture quality is pretty great outside using natural light, but pretty poor using artificial light. Grab yourself a basic phone diva ring light to add some instant lighting to your phone for under a tenner.
Phone Tripod

One of the first purchases I made for my channel was a basic tripod to hold my iPhone. This allowed me to position my camera phone for better shots and generally made making videos easier. Your phone tripod needn’t go to waste once you upgrade to a better camera either, as it will convert to a camera tripod. Alternatively, you can use it for Instagram lives or even Zoom calls as I do.
Camera
There are a number of options when it comes to cameras, here are the ones that I have used during my vlogging career.
Point & Shoot Camera
G7X Mark ii

When I invested in my Canon G7X mark ii vlogging camera my channel really started to take off. Suddenly the production quality of my videos was much higher and the whole process from filming to editing was easier too.
This camera is idea for vlogging as it has a flip up screen so that you can see yourself while you are filming, a must for ensuring that the shot it set up correctly.
G7X Mark iii

In October 2020 I upgraded to the Canon G7X Mark iii. The advantage of the Mark iii over the Mark ii is that the newer model has the advantage of the option to improve audio quality with an external mic. Check out my full blog post all about the best accessories specifically for the Mark iii.
Mirrorless Camera
Canon M50 Mark ii

The camera that I use most frequently now is the Canon M50 Mark ii. This camera also benefits for the option to input an external microphone. While it is bulkier than my G7X, it has the added bonus of interchangeable lenses.
M50 Mark ii Mirrorless Camera Lenses
Although the M50 came with a “kit lens” I almost never use that one. Instead, I use the 2 lenses below.
Sigma 16 mm f/1.4 (C) AF DC DN Lens for Canon EF-M X Mount

Canon EF-M 11-22 mm f/4-5.6 IS STM Lens

Action Camera
GoPro

I bought my GoPro to capture on ride POV (point of view) footage in theme parks to add into my vlogs. I also use my GoPro for footage where my camera may get wet.
Camera Accessories
Extra Camera Batteries

Spare camera batteries are an absolute must, as there is nothing more annoying than having to stop filming as you have no charged batteries ready to go. I actually have 4 batteries that I use on rotation for days where I am filming all day out of the house, but you could probably manage ok with just 2.
SD Cards

Arguably even more essential than spare batteries (as your camera won’t physically work without one) are SD cards. It’s worth investing in more GB of storage, anything less than 64GB is a waste of time in reality. Again, I have 4 that I use on rotation but you could probably manage with 2.
SD Card Cases
GoPro Action Camera
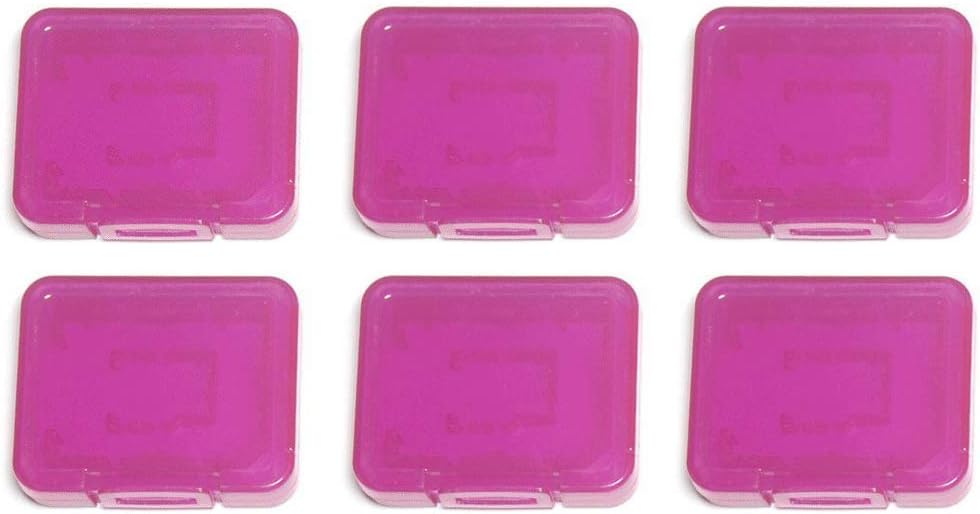
These little SD card cases are ideal for protecting my precious SD cards containing footage.
Pencil Cases
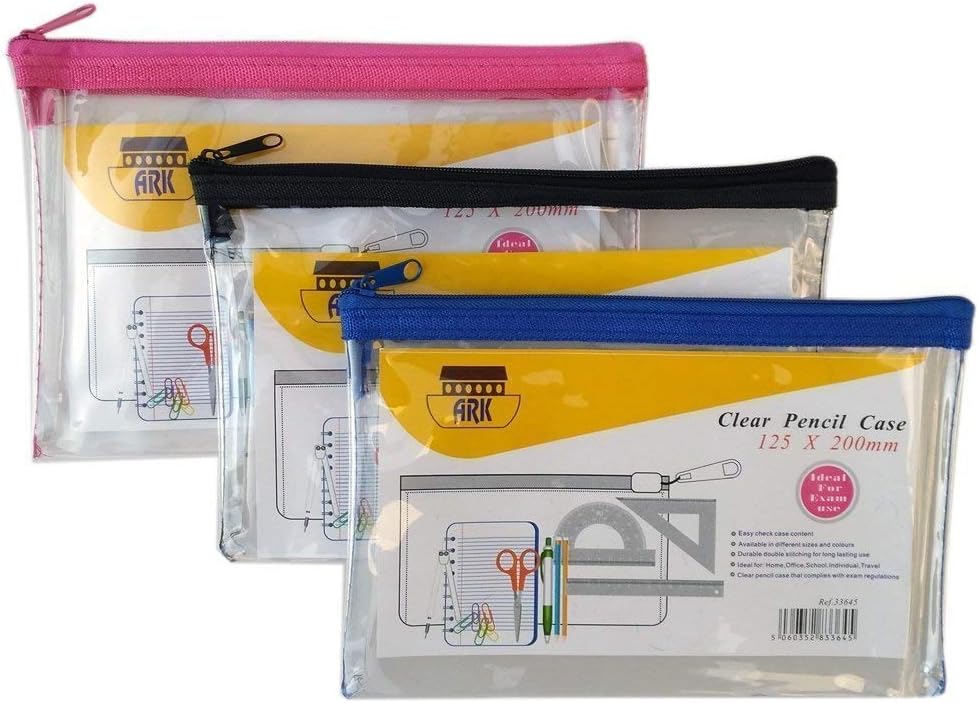
I use these clear pencil cases for storing my spare batteries and SD cards to avoid them getting lost or damaged in my bag.
Tripods
Hand-Held Tripod
I actually have 2 hand held tripods that I use for different circumstances. Honestly, you only need one, so choose the one that fits your needs.
PIXI Mini Tripod

I use the PIXI hand held tripod moth often. It makes placing the camera down and angling the right shot easy. When I am walking around vlogging, the 3 legs come together to make a sort of selfie stick. By holding the tripod rather than the camera itself, it makes a better angle for the shot, plus it is more comfortable and stops you from covering the mic with your fingers.
Joby Tripod

The Joby works the same as the PIXI but it can also be wrapped around things to secure the camera in different positions. This is a useful feature, but I find that it’s not as easy to just get a level shot on a flat surface.
Main Tripod
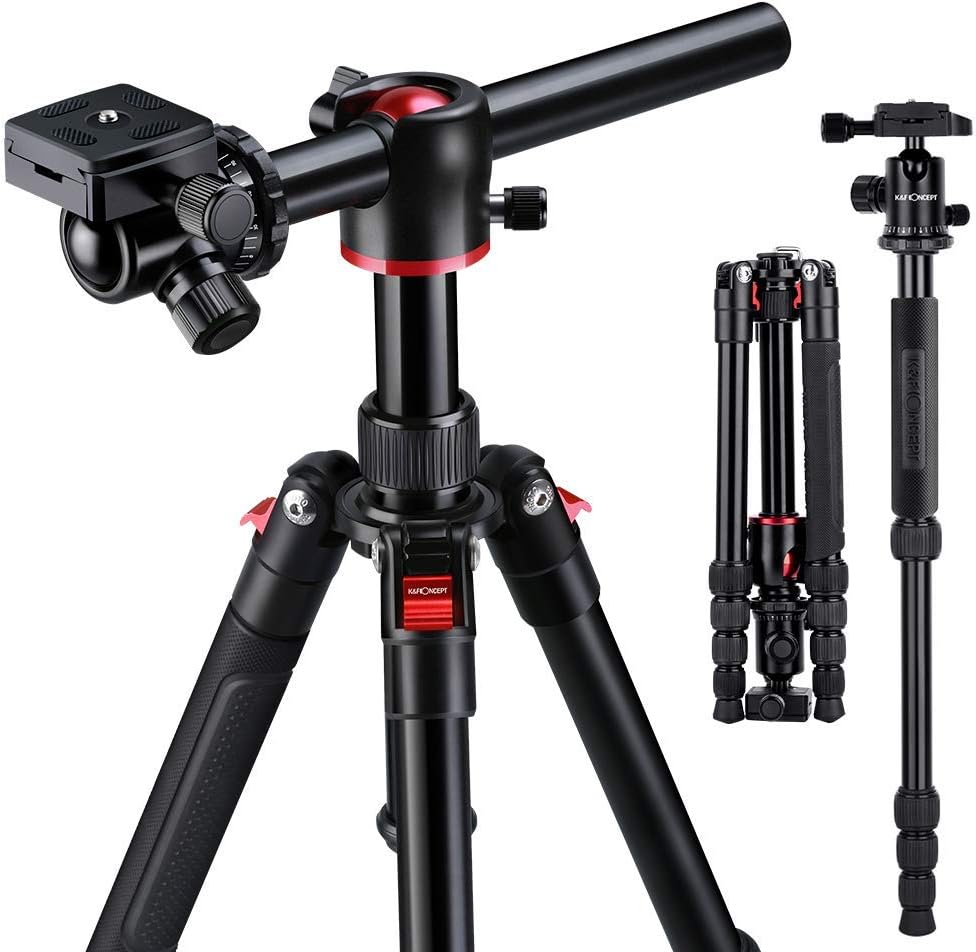
I just love my “main” tripod for creating shots at all levels and angles plus panning shots too. This one is a little more pricey than the basic phone tripod but has been amazing for helping me create better videos.
Lighting
Ring Light
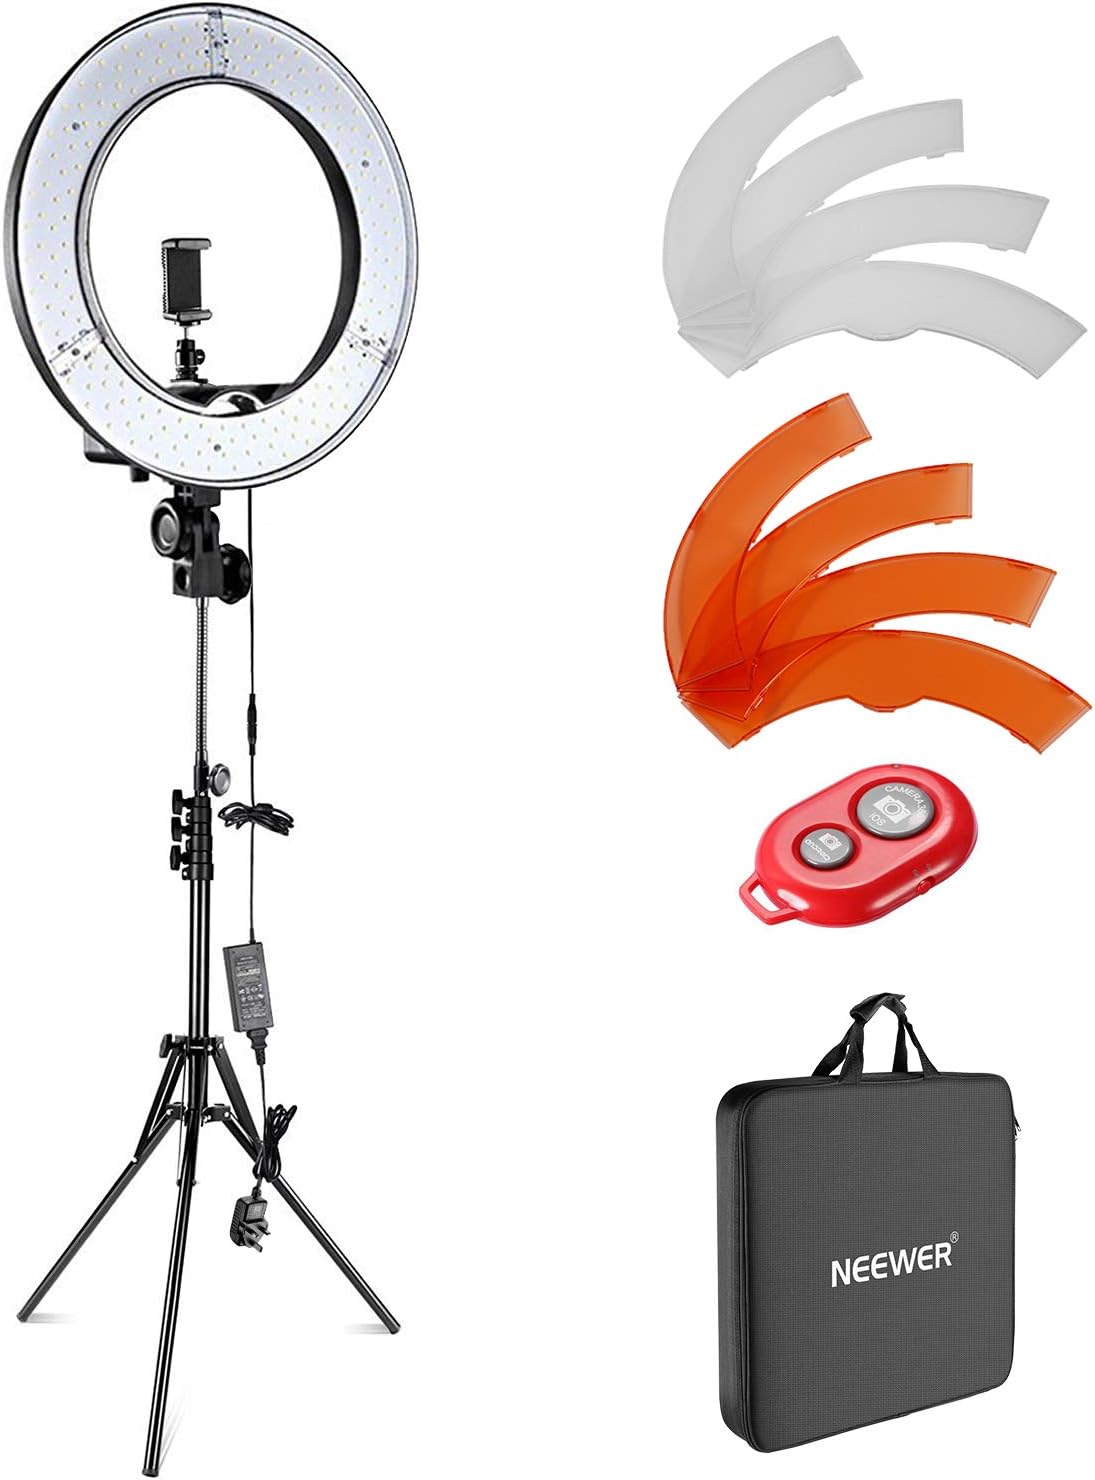
My ring light is perfect for filming indoors as well as taking photos for thumbnails and for Instagram.
GoPro Spare Batteries

As with my Canon camera, spare batteries for my GoPro are a must.
Micro SD Cards

As with the main logging camera, your action camera will need SD cards to record footage. Make sure that you get “extreme” rather than standard Micro SD cards or the card won’t keep up with the camera.
GoPro Accessories
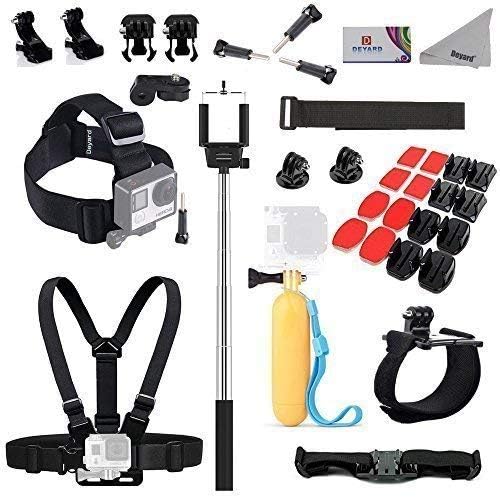
Branded GoPro accessories are pretty pricey. While it’s worth investing the money in the camera (if you plan to do action shots), you can save loads of money by buying off-brand accessories. I bought this bargains accessories kit and the whole lot cost less than just one official GoPro strap.
Computers
MacBook

When I started blogging and vlogging I was writing and editing on my iPad. While this worked at the time and you absolutely do not need a fancy computer to start your channel (you can edit right from your phone), having the right equipment and the right software has improved my videos no end.
External hard drive
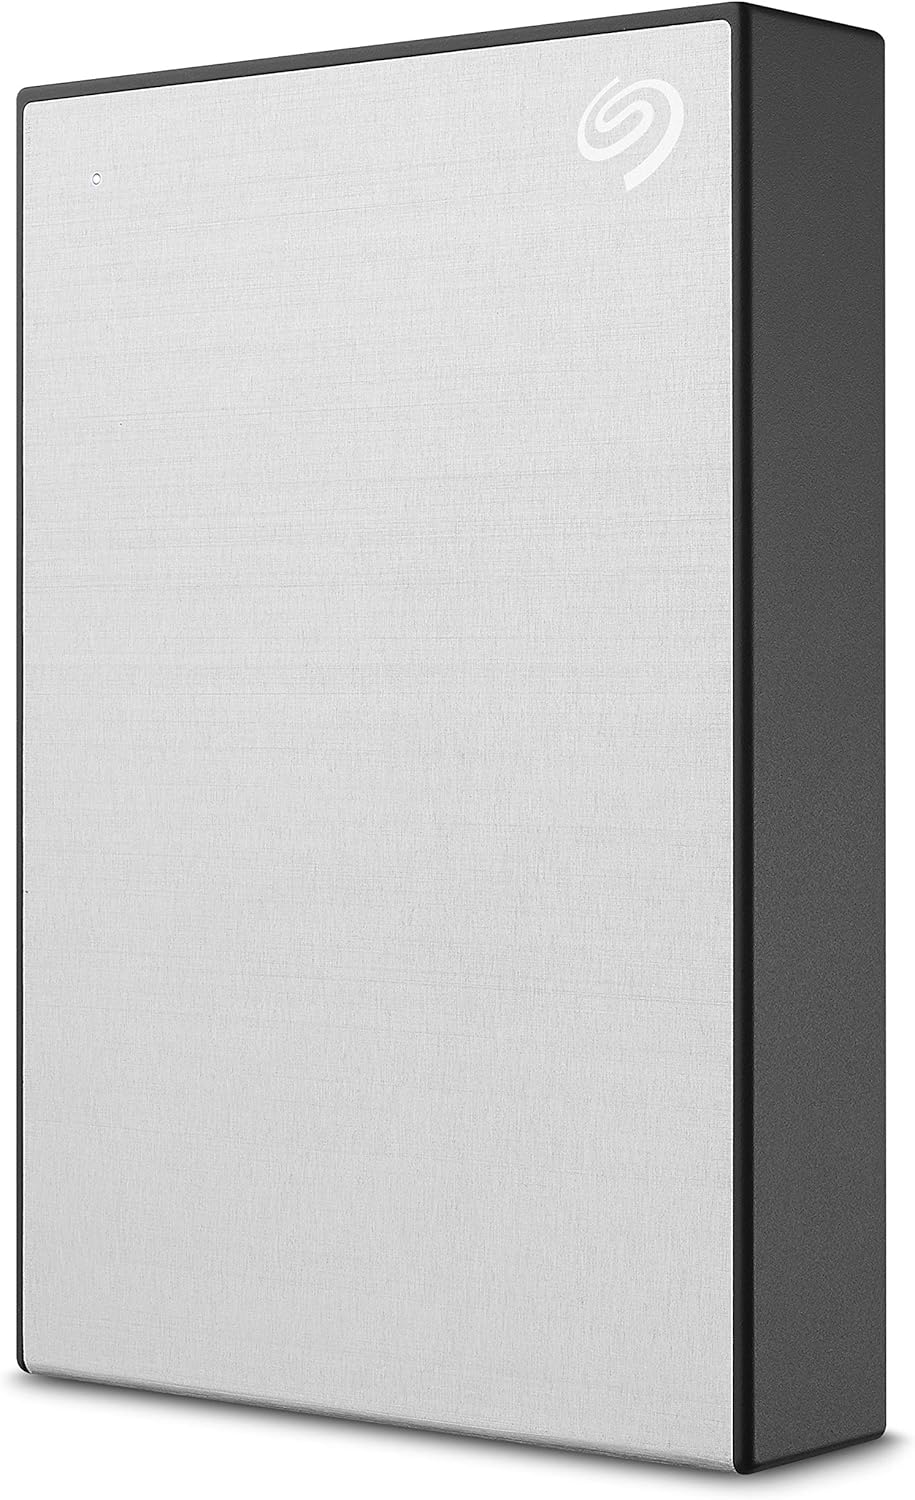
When I relaunched my channel (check out the video at the tip fo the page for the full story) and started producing 3 videos a week, the hard drive on my MacBook filled up very quickly. Invest in an external hard drive like this one that I have to store your raw footage and finished work.
Microphone
Blue Yeti Microphone
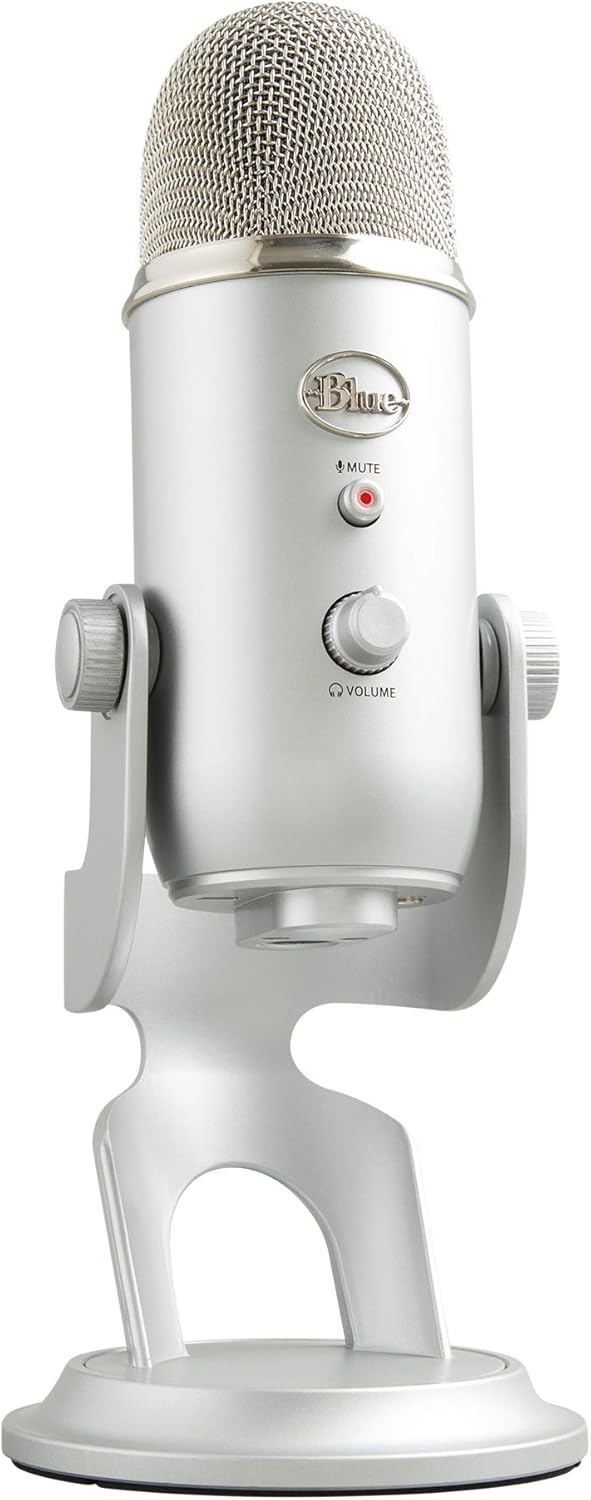
This is the microphone that I use to record all of my video voice overs. The sound quality from it is incredible.
Pop Filter

I use this pop filter to avoid my microphone picking up harsh “p” and “t” sounds when I record voice overs.
Software
Editing Software
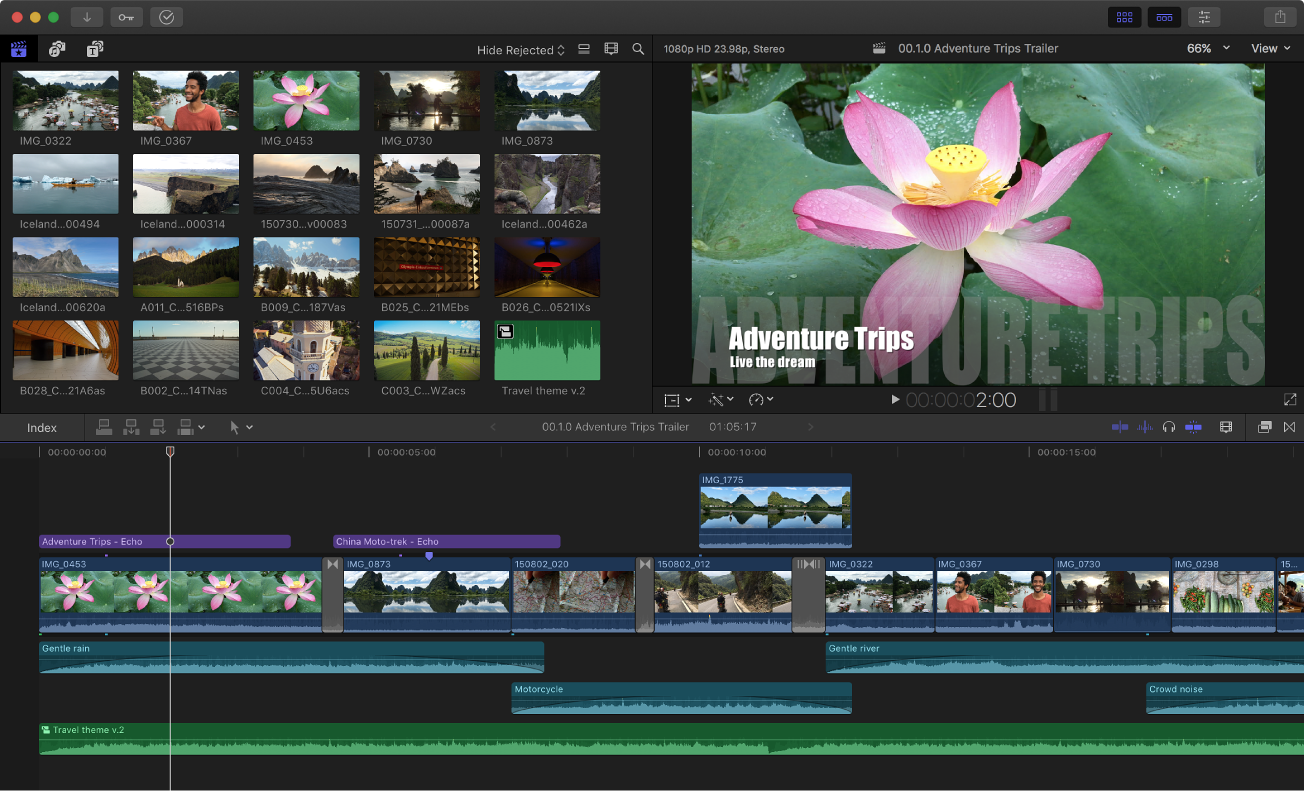
I started with iMovie on my iPhone and iPad, then moved to the LumaFusion app for editing. Once I bought my MacBook I started using Final Cut Pro and haven’t looked back. It’s a bit overwhelming to begin with, but there are loads of YouTube videos to help you get started.
Graphics Software

I adore Canva for creating all of my logos, channel art and YoUTube thumbnails. There is a forever free version that you can use, but I pay for the pro version as it has so many additional features. Click the button below and give it a go now.
Join the conversation
Where are you on your YouTube journey? Have you bought any kit? What is your next purchase? Comment below and let me know.
Get The Ultimate Mum Bundle Now
Why Not Pin This For Later?
